thyme and butter
  • home
  • about
  • recipes
  • disclosure
  • recipe club
  • shop
  • crafts
  • home
  • winter

How to Make a Vintage Ornament Wreath

A few years ago I spent a month of evenings hunched over my dining room table, painstakingly organizing Christmas ornaments on top of a styrofoam wreath. I’d inherited a box of baubles from my grandmother, most of which had hung on her tree every year for decades, each carrying the silvery patina of years gone by. I had visions of creating a beautiful, colorful, ornament wreath just like the ones I’d seen on Etsy priced into the three and four hundreds.

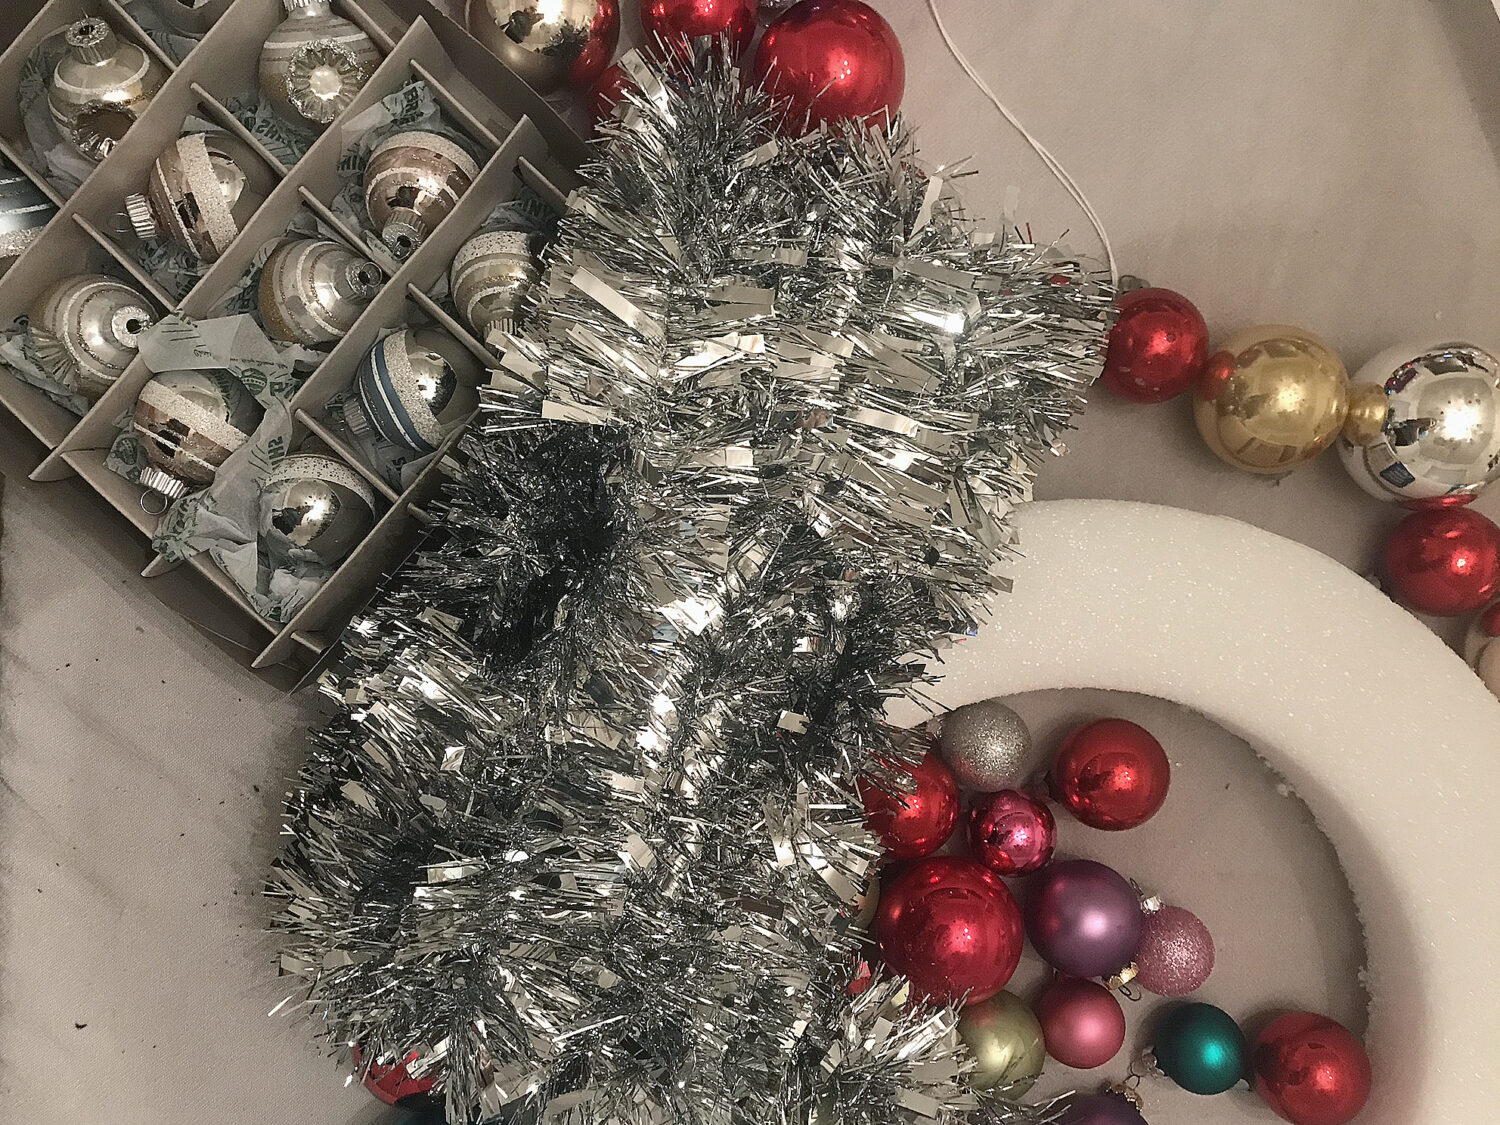
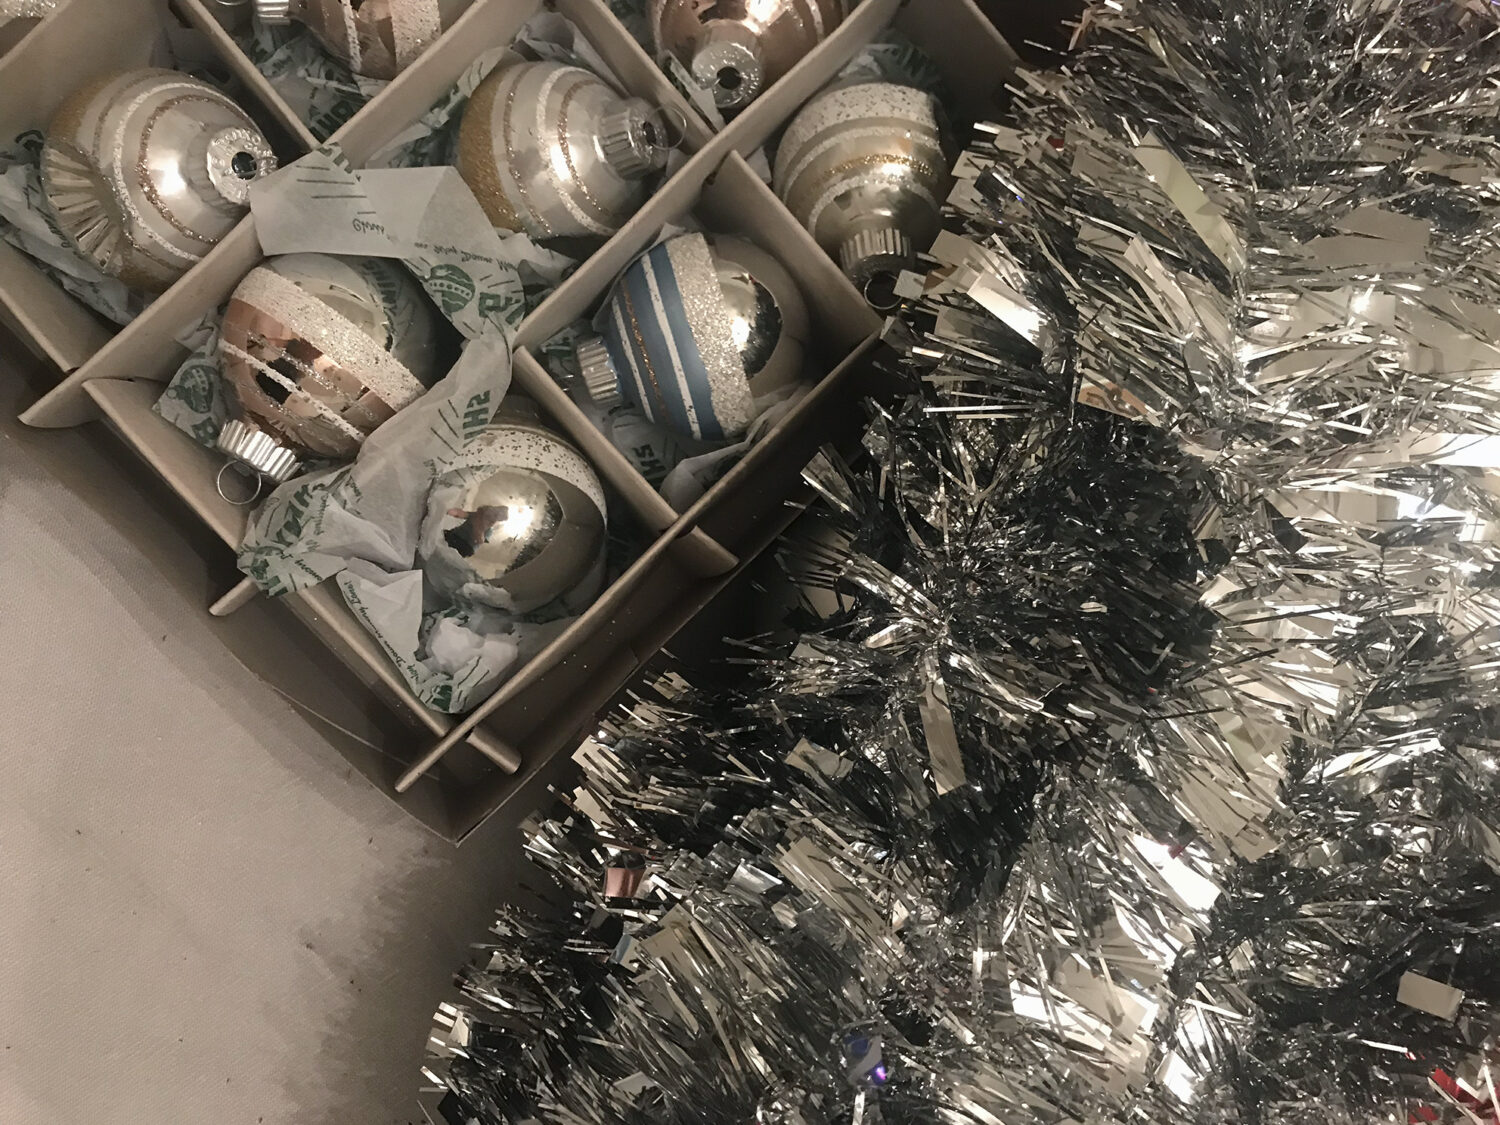
I started with an 11-inch wreath frame from Michaels and silver acrylic tinsel from the dollar store. I had chosen close to 50 of my grandmother’s ornaments to use in my wreath, as I saved the really special ones to hang on my own tree. I thought I’d have enough, but it soon became clear to me that I would need a lot more to completely fill out the wreath, so I hit the thrift store. With about $40 in materials, I was ready to get started.

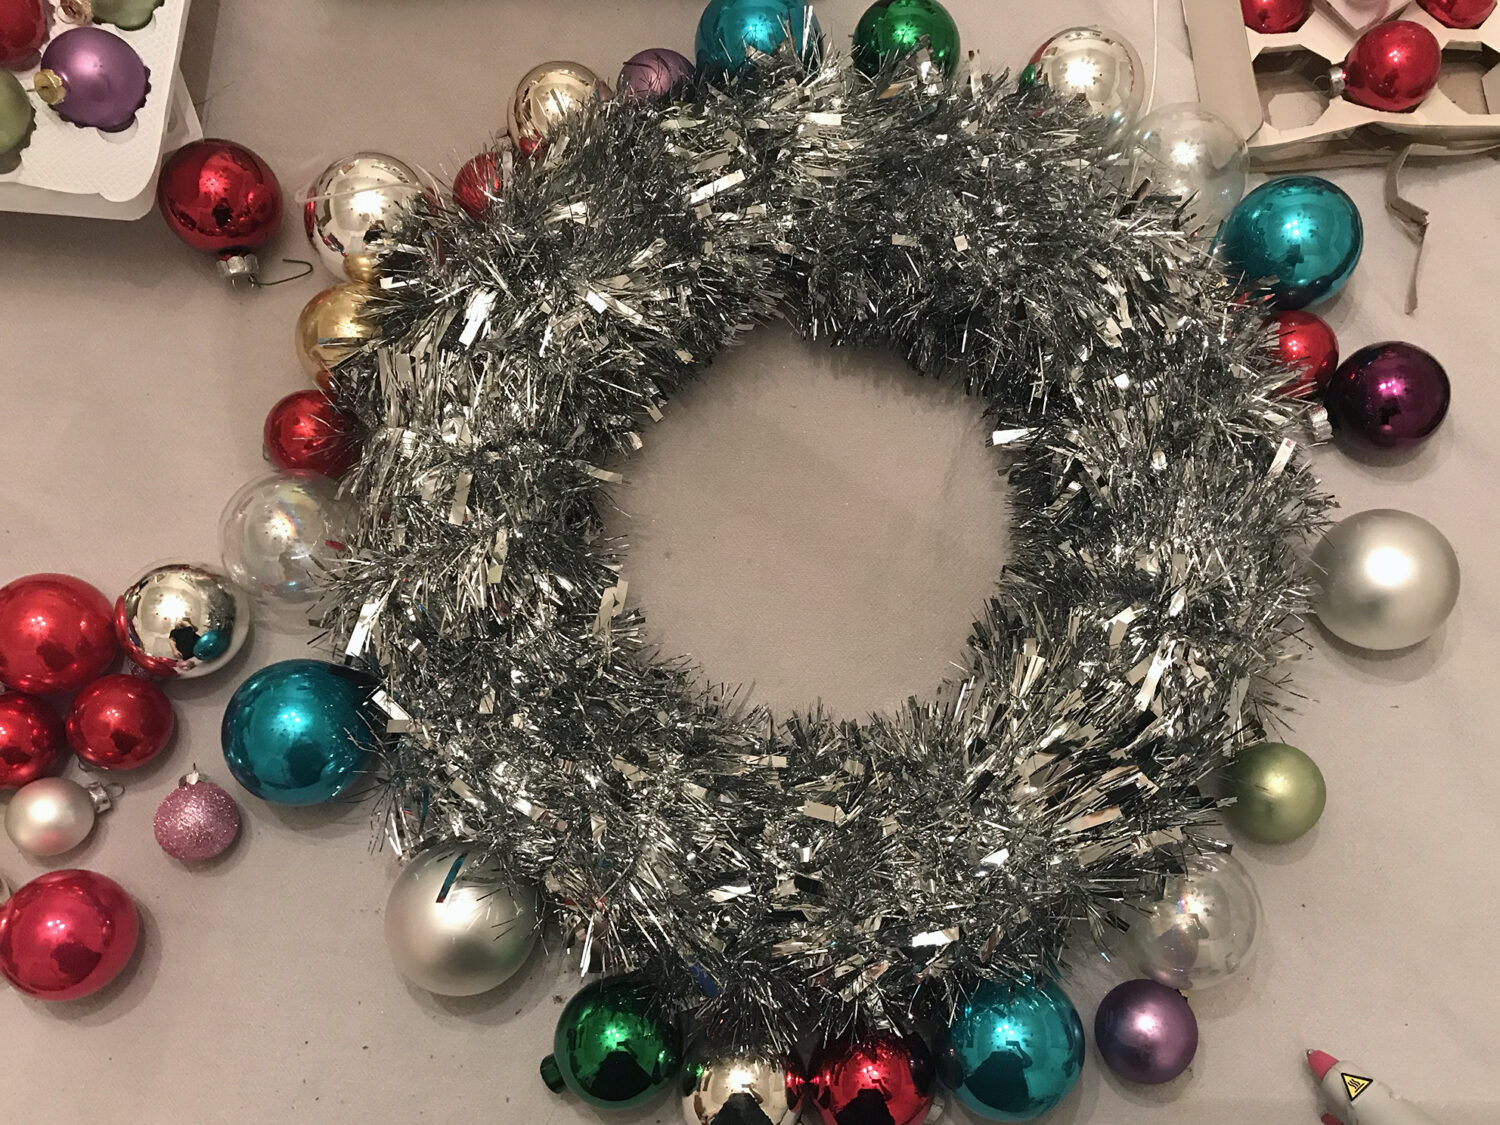
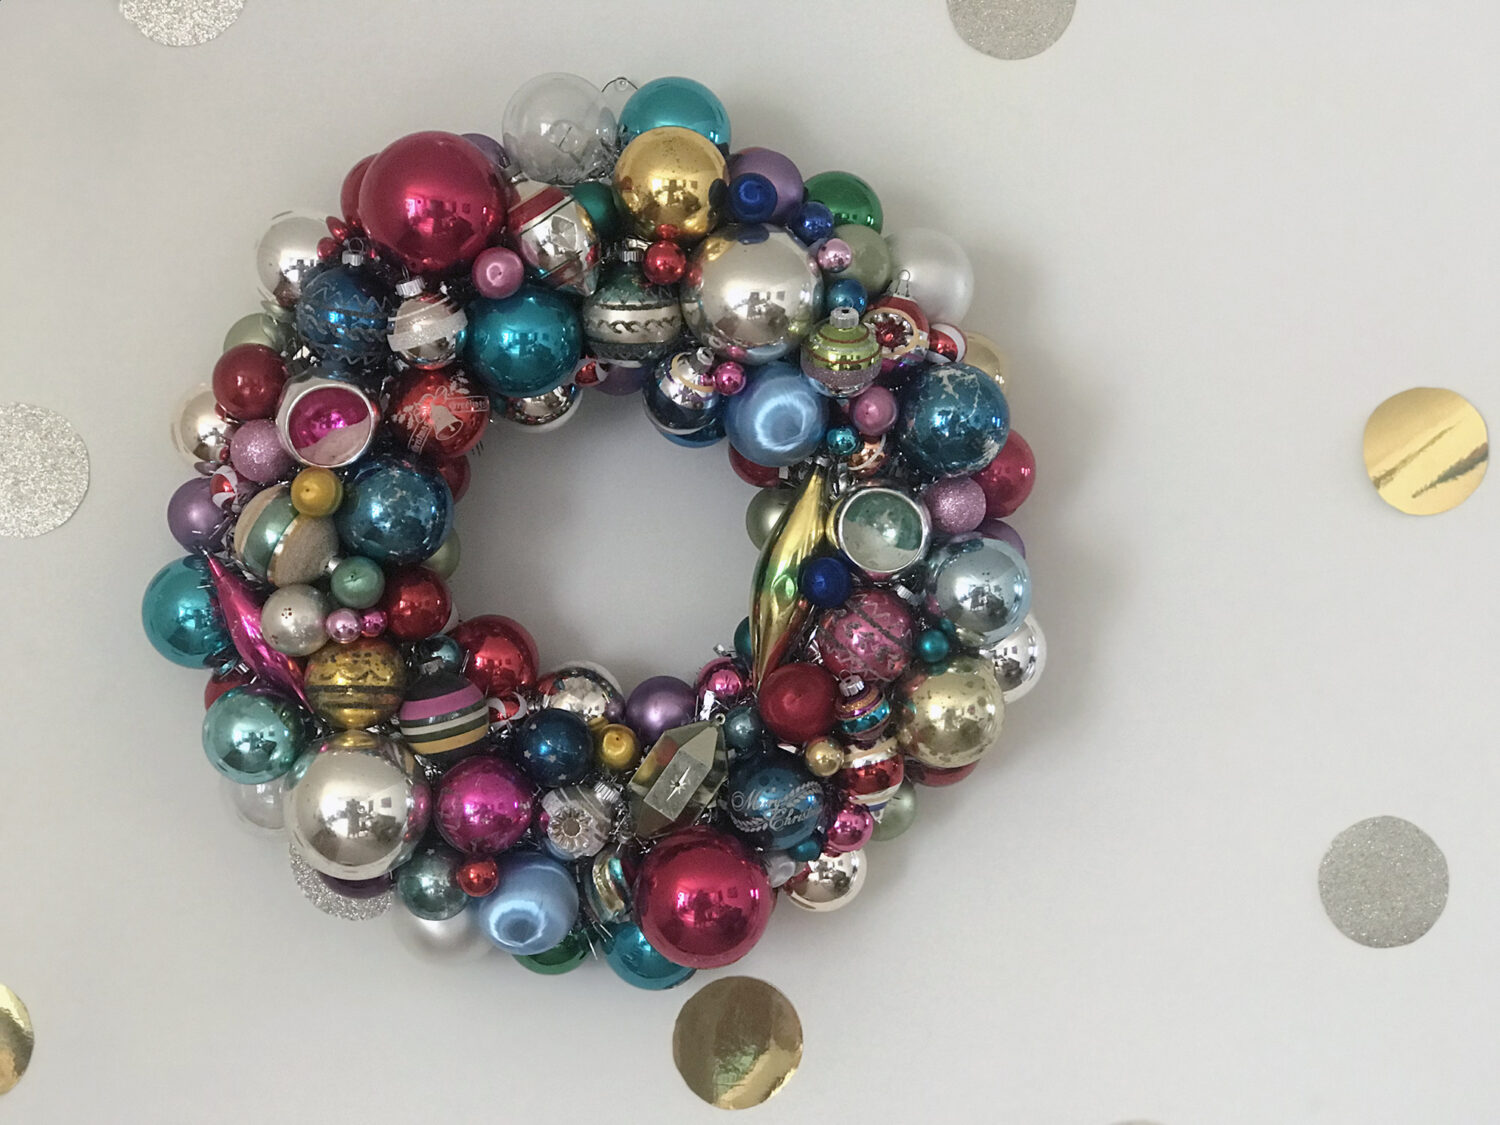
Before making any decisions with hot glue, and after consulting Martha Stewart, I laid out my thrifted ornaments to decide the volume I would need to cover the perimeter of the cylinder. Then I wrapped the wreath in the tinsel and hot glued it down as I went. When all was said and done, I used about 45 feet of tinsel and 200 ornaments of all different sizes.

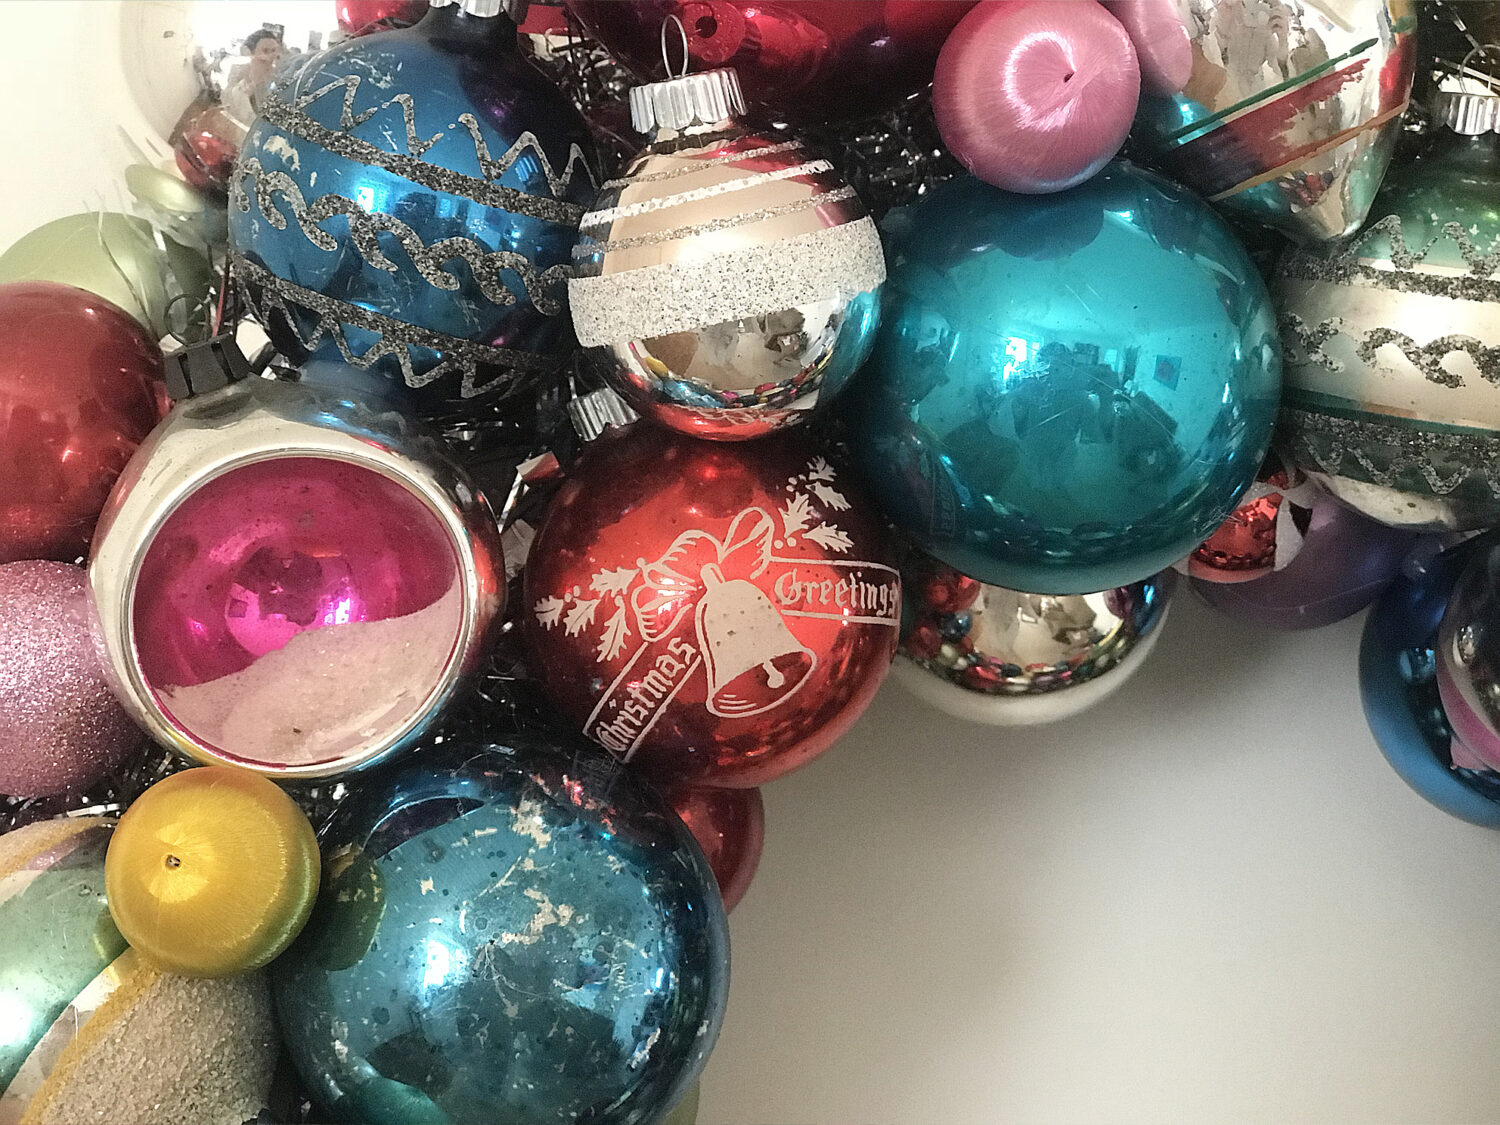
Although it would only realistically take a few days to complete a wreath like this, it took me about 3 weeks to finally decide to glue down all the ornaments. I wanted each of my grandma’s ornaments to stand out amongst the filler, and even though there are a ton pieced together, I can point out each one clearly.

If you’d like to make one of these on your own, here are my tips:

  • Wrap a wire to hang the wreath around the wreath frame before you begin to add ornaments.
  • Buy more supplies than you think you’ll need. This includes tinsel, ornaments, AND hot glue sticks. If you end up with any unopened supplies, you can always return them.
  • Feel free to cheap out on the tinsel, you won’t be seeing that much of it after the ornaments are glued down. The real purpose is for your ornaments to stick to something and to cover any gaps. I used silver, but gold or iridescent tinsel would be super cool too!
  • It’s easier to glue the ornaments down if you remove the metal top.
  • Don’t be afraid to over-glue. You can always hide the glue with more ornaments.
  • I prefer glass ornaments, but the benefits of acrylic ones may outweigh the risk of glass for you, as you won’t have to be as precious with them. I would recommend plastic ornaments to anyone with rambunctious children, pets, or neighbors they share a wall with.
  • If you use glass ornaments, don’t hang this wreath on your door!
  • The more sizes, colors, and textures, the better!

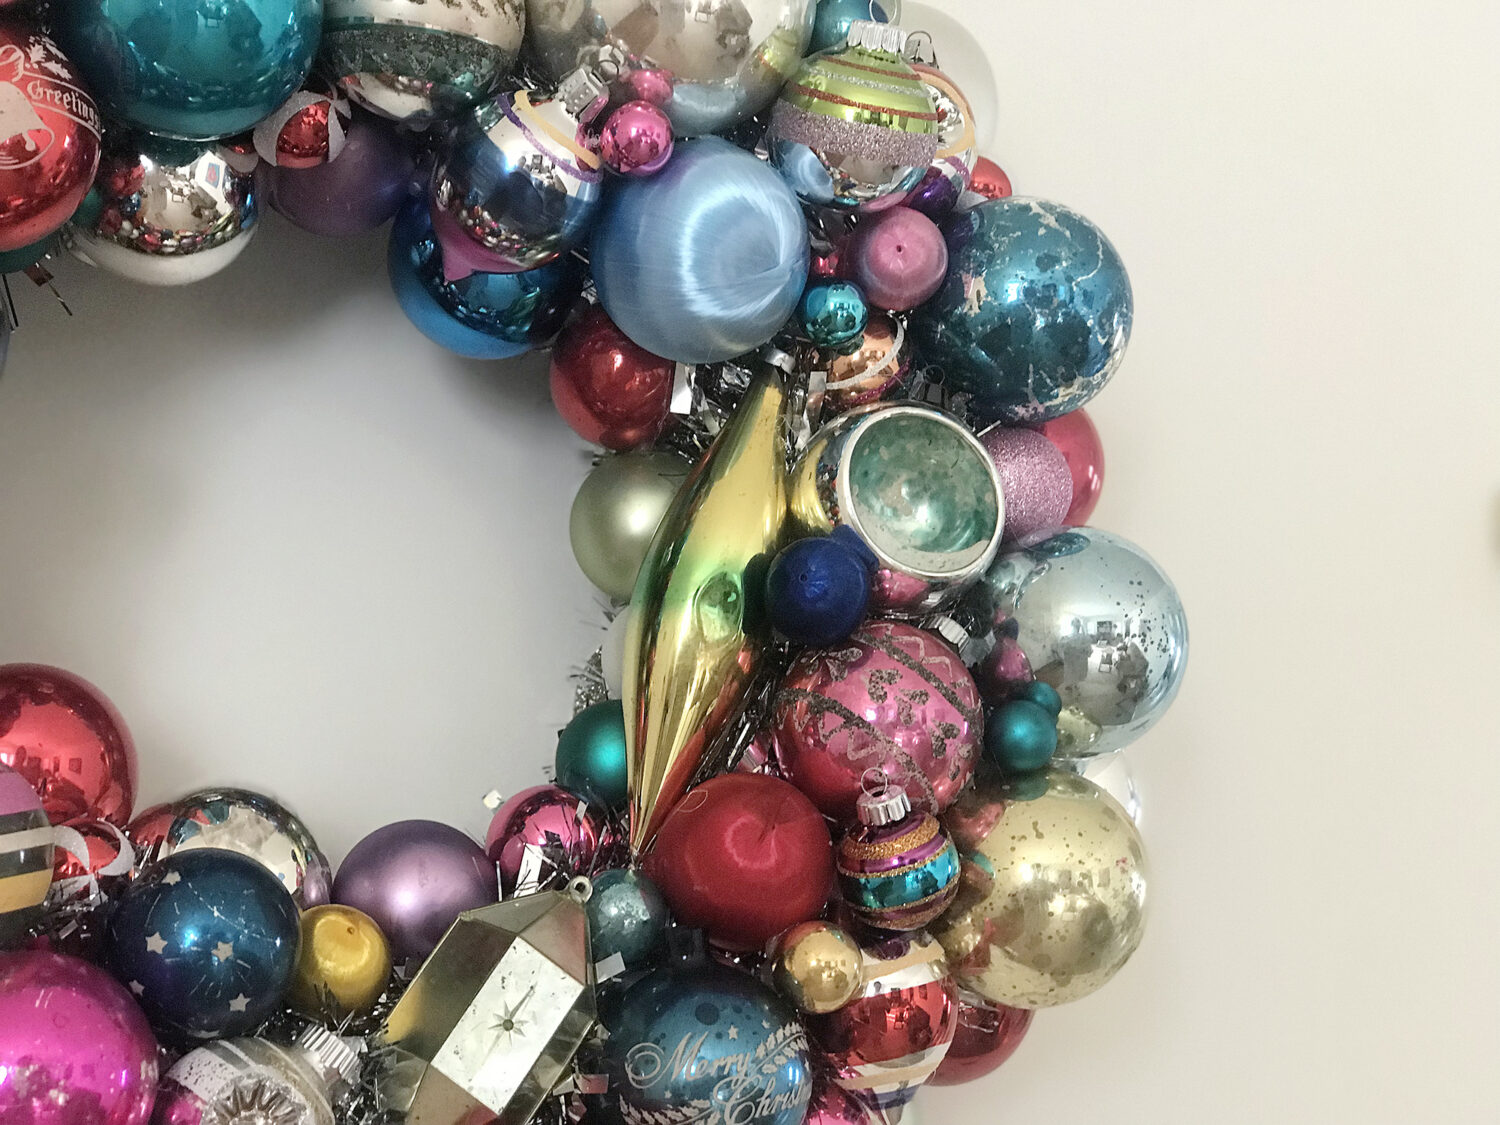
I think my favorite detail is the dual-toned green drop ornament with the little indent in it. One of the best parts of the wreath is that it’s a conversation piece and an heirloom, and no matter how many times you look at it, you’ll see something new!

Do you have any holiday heirlooms or favorite holiday crafts?
Let me know in the comments!

christmas

Hi! I'm Jess!

welcome to thyme and butter, a food and lifestyle blog dedicated to savoring the seasons and living for the little things!

Join the recipe club!

Search

Latest recipes

  • The Best Chocolate Peanut Butter Eggs (Reece's Dupe!)

  • It's a Fondue Party! (Cheese Fondue for Six)

Tags

christmas entertaining favorites homemaking knits & reads mindset pets the edit

get in girlies, we’re using up our scrap yarn! 🧶 # get in girlies, we’re using up our scrap yarn! 🧶 #stashbusting #knitting #crochet
my most popular recipes! What are you cooking late my most popular recipes! What are you cooking lately?
all my current knitting #WIPs! What are you making all my current knitting #WIPs! What are you making lately? 🧶💕 #knitstagram
peanut butter eggs that might just be better than peanut butter eggs that might just be better than that one famous brand 😉

recipe:
2 cups sugar
½ cup milk
¼ cup butter
6 ounces peanut butter
3 oz marshmallow creme
⅓ cup all-purpose flour
1 bag chocolate chips or melting wafers

Add sugar, milk, and butter to a saucepan over medium heat. Bring to a boil and stir continuously for 5 mins, then remove from heat.

Stir in peanut butter and marshmallow creme, then slowly incorporate flour and stir until combined.

Pour mixture onto a pan lined with parchment paper and allow to cool for about 30 minutes. When cool enough to handle, shape into eggs, insert a toothpick into each one, and allow to set completely. Then chill in the fridge or freezer for an hour or more to avoid any melting when dipped.

Melt the chocolate, dip each egg, allow to harden and enjoy! 🍫😋
little water dog meets great lake 🌅 little water dog meets great lake 🌅
postcards from hibernation season ❄️⛄️🌨️ postcards from hibernation season ❄️⛄️🌨️
our wedding was a little over a month ago and I’m our wedding was a little over a month ago and I’m just now going through some of the photos! We had the best day filled with so much love from our friends and family 💕 there were millions of bubbles, thousands of cookies, a handful of distracting roosters, one rogue donkey, TWO swords, and more happy memories than we can count!
we did it! 💕 we did it! 💕
frickin’ bats 🦇🎃 frickin’ bats 🦇🎃
this season of life has been all about the texture this season of life has been all about the textures ✨🐞
it’s been the best summer on record, and that’s th it’s been the best summer on record, and that’s the caption 🫐🌞💕
little summer moments 🌞💕 little summer moments 🌞💕
Cherry always looks out for number one, and we wou Cherry always looks out for number one, and we wouldn’t have it any other way! 😂🩷🍒 #portuguesewaterdog #portiesofinstagram
I highly recommend going to summer camp with your I highly recommend going to summer camp with your best friends 🥰
sappy post incoming: I was given the opportunity t sappy post incoming: I was given the opportunity to spend a long weekend in the mountains with some of my most favorite people on the planet. These are the ladies that never fail to remind me of the magic of life. I can’t express how much it means to me that they gathered to spend time in nature and be silly with me. My heart is full and my face hurts still hurts from smiling! And as the song says… it’s in our nature to look out for each other in the heart of the woods 💕🌲
had the most fun photo session with @kellyspaine a had the most fun photo session with @kellyspaine and as expected, Cherry was ready for her close up! 🥰🍒
we took Cherry on her first ever hiking trip and s we took Cherry on her first ever hiking trip and she absolutely loved it! The trail was a bit rockier than we expected, but she climbed them all like a champ! She even made some friends while she enjoyed her breakfast at the summit 🥹🍒🪨🌿
my favorite new spring tradition: making rhubarb j my favorite new spring tradition: making rhubarb jam and strawberry preserves 🍓🫙💕
Portrait of a Woman with Dill Portrait of a Woman with Dill
a few little moments from May 🥹🩷✨ a few little moments from May 🥹🩷✨
Follow on Instagram

about the author

Jess Buckley is a Pennsylvania-based writer and home cook that finds joy in sharing her love for cooking, gardening, and seasonal-inspired living.

Latest posts

  • The Best Bits: My February 2026 Favorites

  • The Best Bits: My January 2026 Favorites

Latest recipes

  • The Best Chocolate Peanut Butter Eggs (Reece's Dupe!)

  • It's a Fondue Party! (Cheese Fondue for Six)

  • about
  • disclosure
  • privacy policy

© 2026 | thyme and butter studio